Simple tips to improve your bee photography
Take it back to the hive! Try editing your shots and shoot RAW if you have the storage.
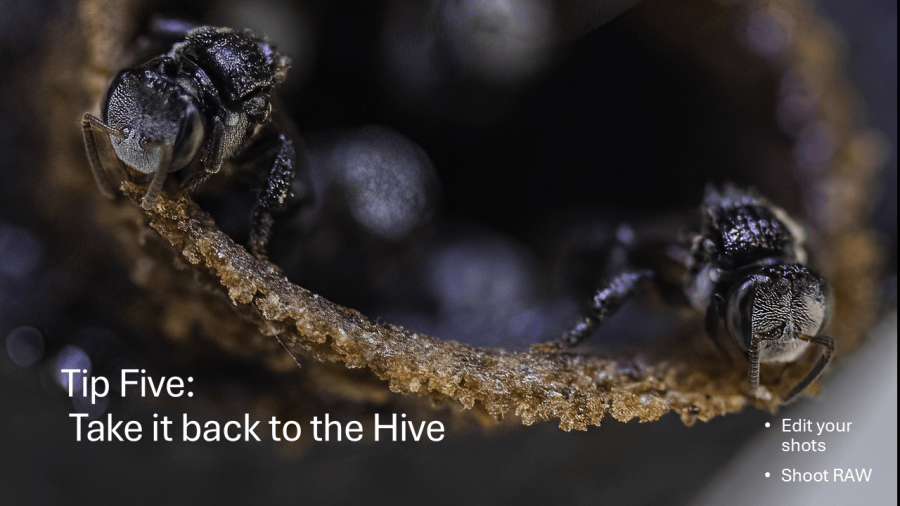
The species in the feature photo is Tetragonula clypearis and I love this photo because they’re tiny. They are in fact one of Australia’s smallest stingless bees. They are 3.5mm long and their hives are quite small, so small that it is commonly said that they could fit a hive in a coke can.
This is a shot that motivates me because it really brings these tiny creatures into our world in a very tangible way. Each of those bee faces are only 1.6mm in width so they are much clearer in a photograph than they are in life. So to reinforce the value of shooting RAW and editing… here’s the comparison.
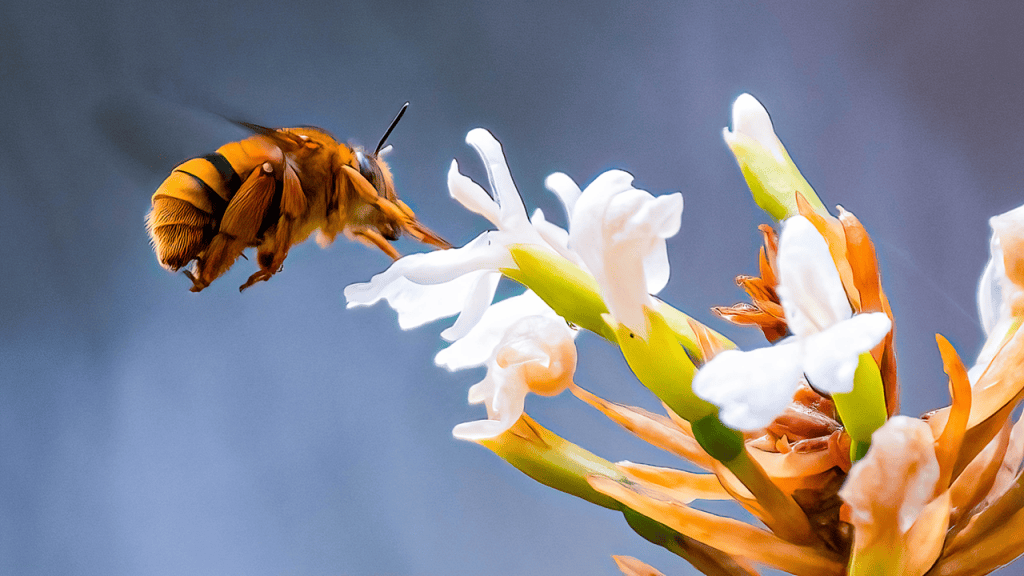
This photo of a Teddy Bear Bee was taken in South-east Queensland on Native Ginger. It’s one of my favourite photos because I feel like it has a dreamy quality. I could not have got this shot on full auto. It is auto-focused, auto-aperture and auto ISO. I set the shutter speed to 1/640th of a second.
These days I generally don’t shoot bees under 1/800th of a second because they’re just so fast. Having said that it did take some processing to get rid of noise because it was taken in relatively low light.
Initially I was caught up in that endless photography controversy of whether it was fair or ethical to edit photos digitally and then I thought back to my university days. I did one semester of black and white photography including how to use a darkroom. During that course I had to make many decisions when developing black and white film. And yes, I still love film but a computer is much easier to have in your house than a darkroom! So why is it any different to make decisions when digitally processing photographs? I don’t think it is. You still need a basically good shot to work with.
Tip 5 – edit your photos. There are so many ways to do this. I now use Adobe Lightroom Classic but I used to just use the basic editor on my phone or the Microsoft photo editor on my laptop. They’re a great start because they get you used to the language and what editing can do. If you really want to play with processing your photos… start shooting RAW. Raw files have a lot more data which gives you a lot more flexibility. Here’s the RAW file from the Teddy Bear Bee Photo.
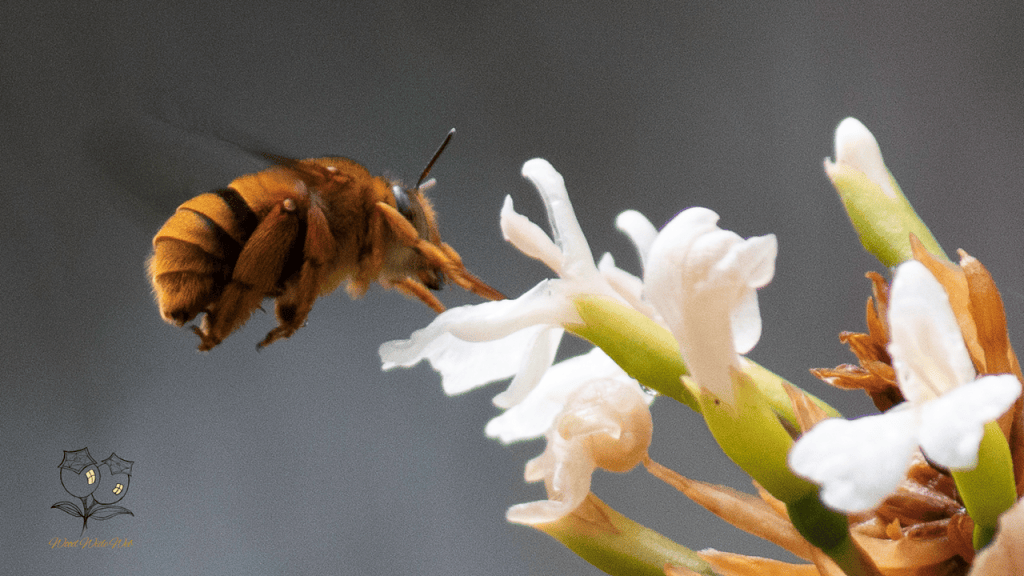
It’s got a lot more noise and it’s quite dull in comparison.
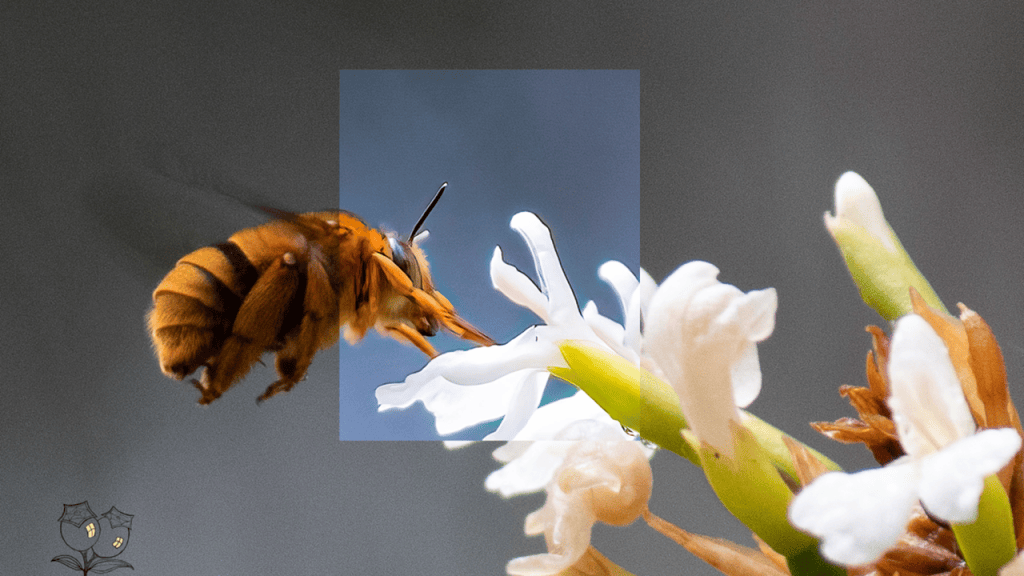
The section in the centre is processed. You can see that there is less noise. I’ve lifted some of the shadows. And I’ve saturated some of the colours.
Below is the feature photo without processing…
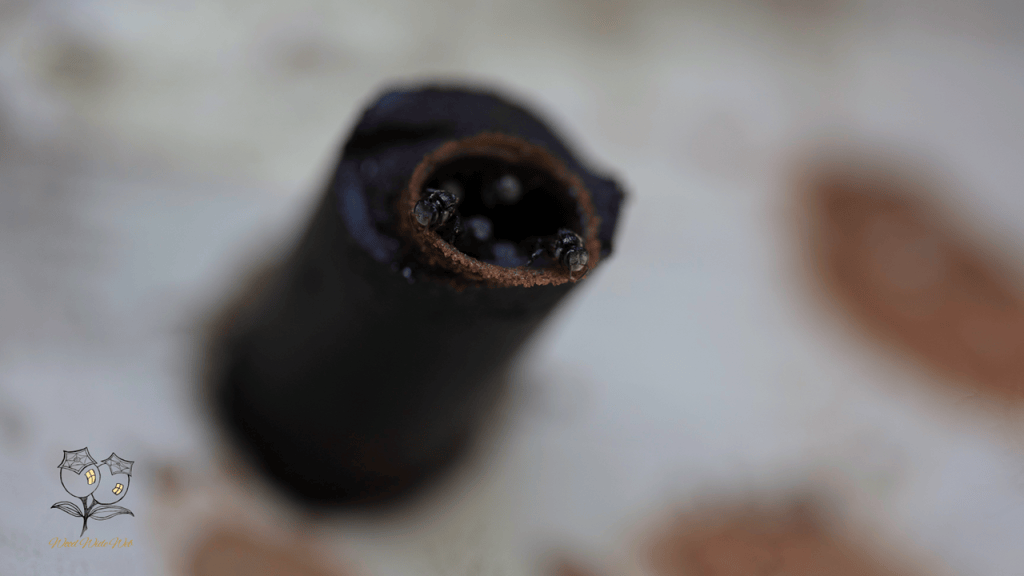
You can see that it’s a lot further away, a lot darker. So let’s zoom in and compare.
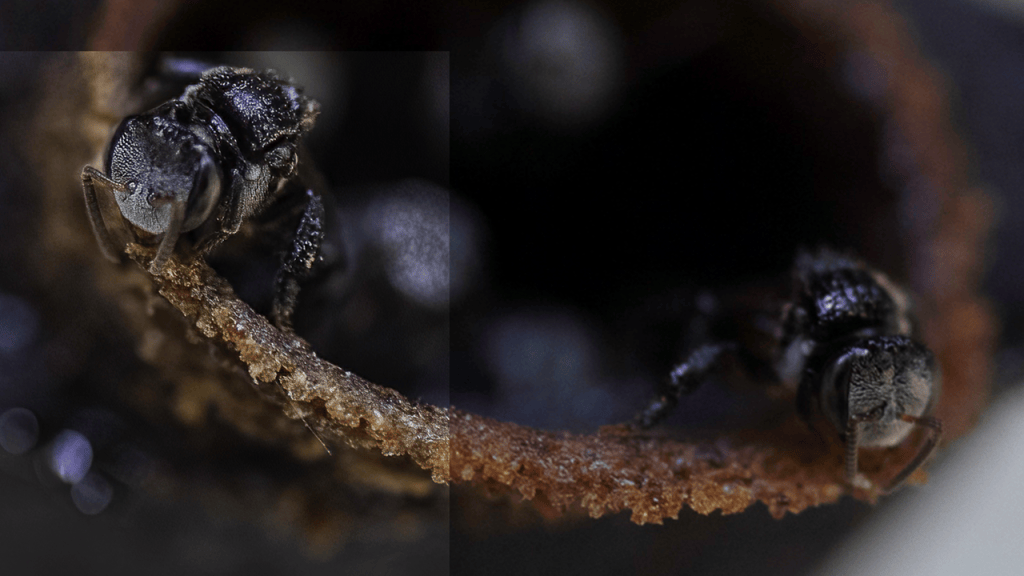
My main issue with this one was the shadows and you can see in the edited version lifting the shadows really improved the photo.
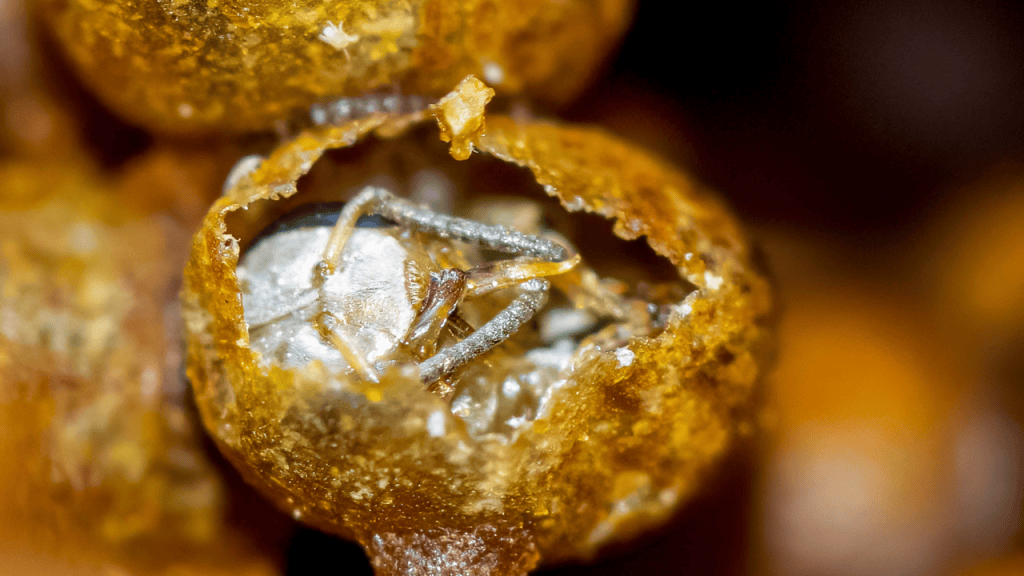
This was the photo that really hooked me on getting photos inside the hive. It’s Tetragonula hockingsi and it was taken at a Cassowary Coast Branch Meeting. Just like the previous photo it’s revealing this tiny hidden world that thrills me about this one. A callow about to emerge from her cocoon. I love how she’s perfectly folded into the tiny capsule and her tongue is on show. I find callows absolutely magical and I try to get some shots every time I am present when a hive is opened. Here’s another shot from the same day.
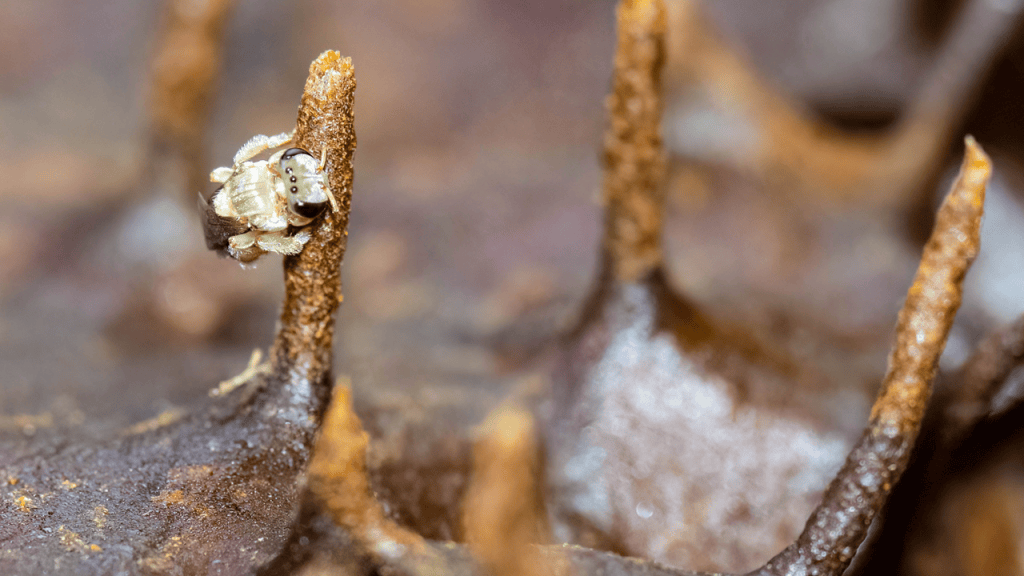
To me this is a callow in a playground. I love how the photo has revealed the hairs and she looks like a fluffy toy. For hive photos you really need good light, so a flash or a lamp shining into the hive. I also find that they always need denoising because the subject is so tiny and there is never really enough light.
To summarise, editing your photos can take you to the next level, especially if you shoot RAW files. Most cameras and phones have this option now. The only downside is that the files use more storage space, but the detail is worth it in my opinion!
That’s it for five simple tips. Let me know if you’d like me to do more photography posts and share settings! Meanwhile, here’s another photography video if you’re interested!


