Simple Tips to improve your Bee Photography
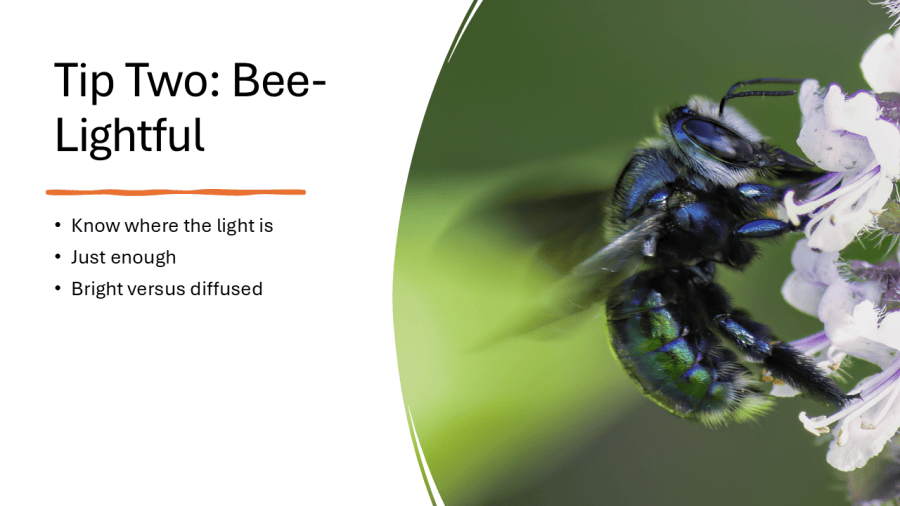
Tip Two – Bee-Lightful
Photography is all about light and capturing that light. For tiny subjects like bees, lighting is even more important. You need the light to highlight the details, but too much light creates shadows that obscure parts of the bee. You need to
- know where the light is – place your bee in full light if possible
- judge whether there is enough light – you don’t want a shot that is “noisy” due to low light
- judge whether there is too much light – too much light on white flowers can create too much contrast
One of my favourite times to shoot is on bright but overcast days. The clouds naturally diffuse and soften the light making it much easier to get shots without too much contrast.
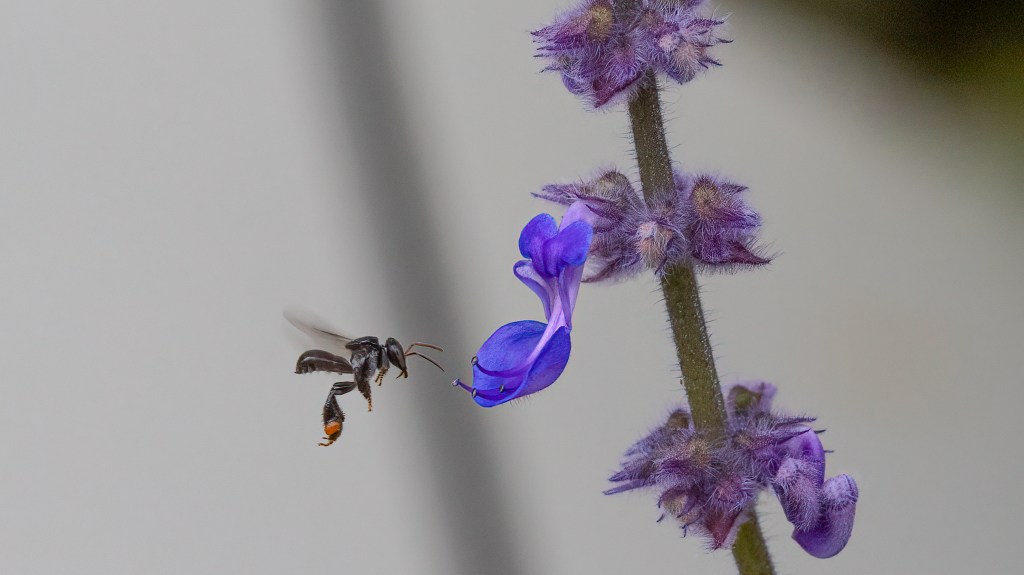
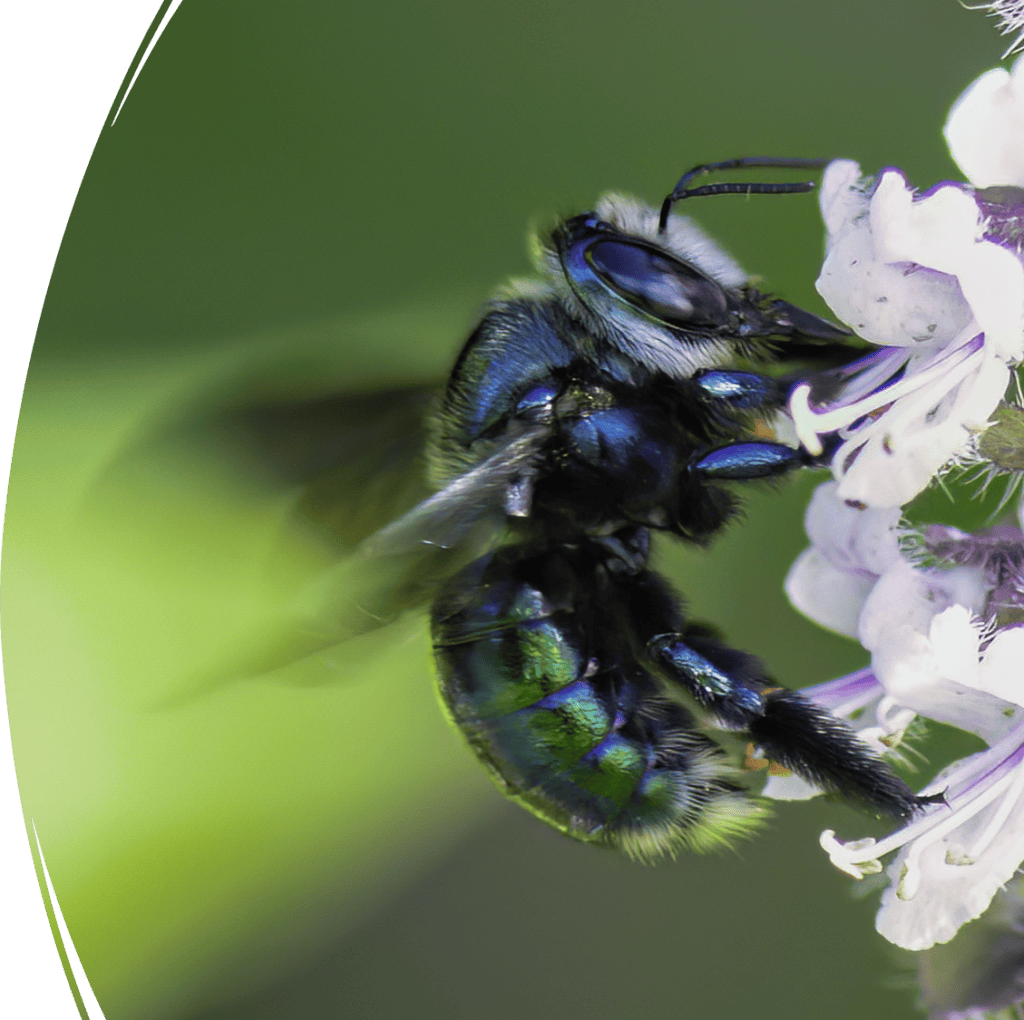
Below is one of my favourite shots and like many of my favourite shots it doesn’t get the same reactions on social media and it’s never been requested or rewarded. I just love the way that the blurry wings of the Peacock Carpenter Bee fade into the light. This shot has a story.
I was doing housework and my daughter interrupted me for what felt like the hundredth time and I snapped at her “What?!” She persisted and told me that there was something on my flowers and asked if it was a bee. It was big and making a loud buzzing noise.
I took a deep breath, prepared myself for another Bee Fly sighting and went to look. I always try to be mindful that my children’s interest in nature is wonderful and should be encouraged no matter how inconvenient! I couldn’t believe my eyes.
It was a Peacock Carpenter!
I had never seen one in my garden before . I grabbed the camera which was second hand but new to me and I was having issues with the auto focus. Another deep breath and I manually focused and took shot after shot until it flew away. This was the experience that made me more confident with manual focus and now that’s how I get a lot of my shots of bees in flight. Anyway, I obviously thanked my daughter profusely!
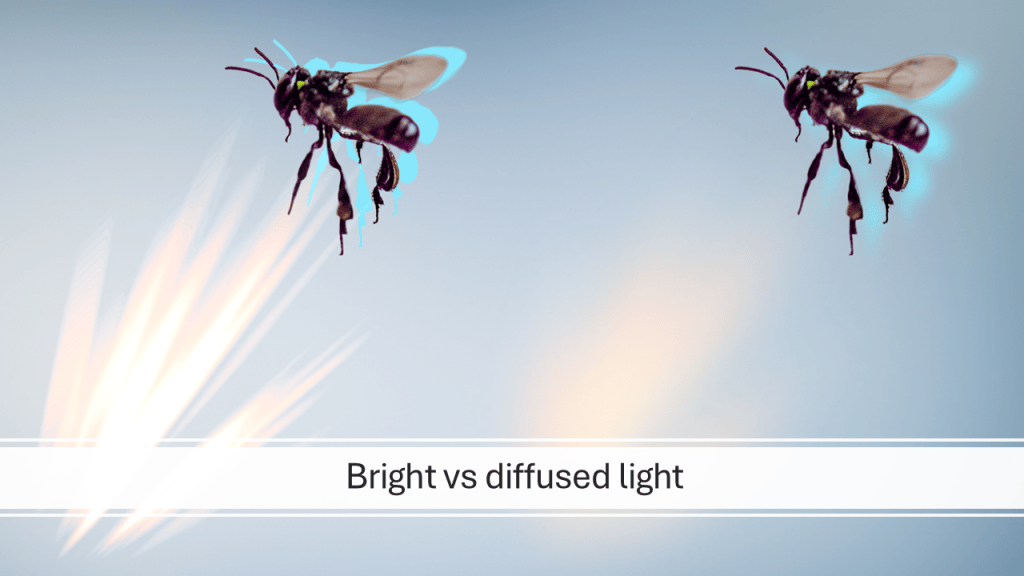
Professional macro photographers often use diffuser boxes and flashes to light the subject without strong shadows obscuring the detail. So a bright overcast day is your friend because the light will naturally be diffused. If it’s a dark day or a very bright day you need to be very aware of where the light is. Otherwise you end up with photos like this…
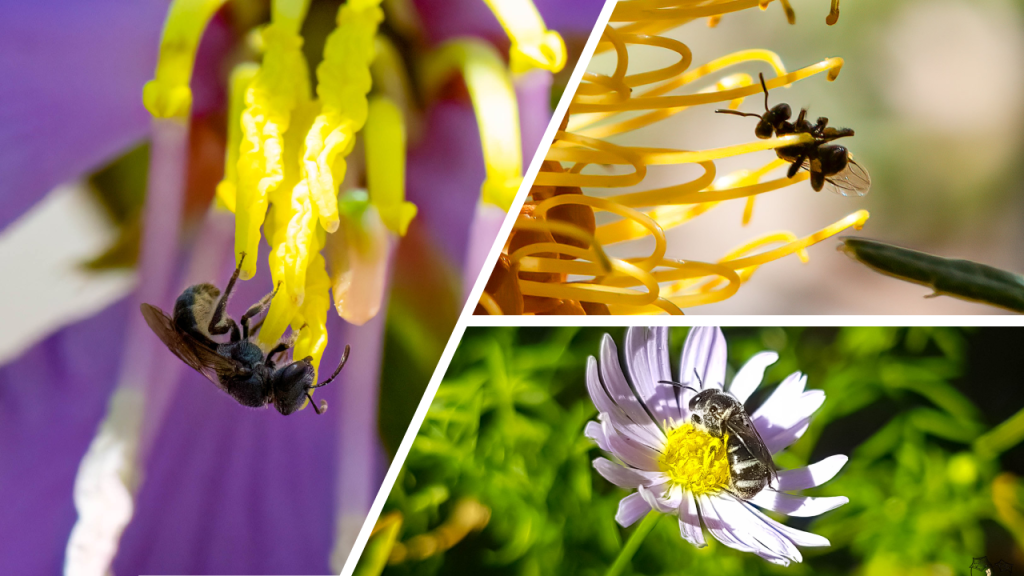
You can see in the first photo that the bee is shadowed so the eye is drawn to the anthers rather than to the bee and you can’t see all the details of the bee in the shadows. The second bee is in silhouette because even though it’s not backlit, the bee is in the shadow of a leaf making it difficult to see details. The third photo shows how distracting sharp shadows can bee.
In contrast, diffused light or paying attention to light can create images like this…
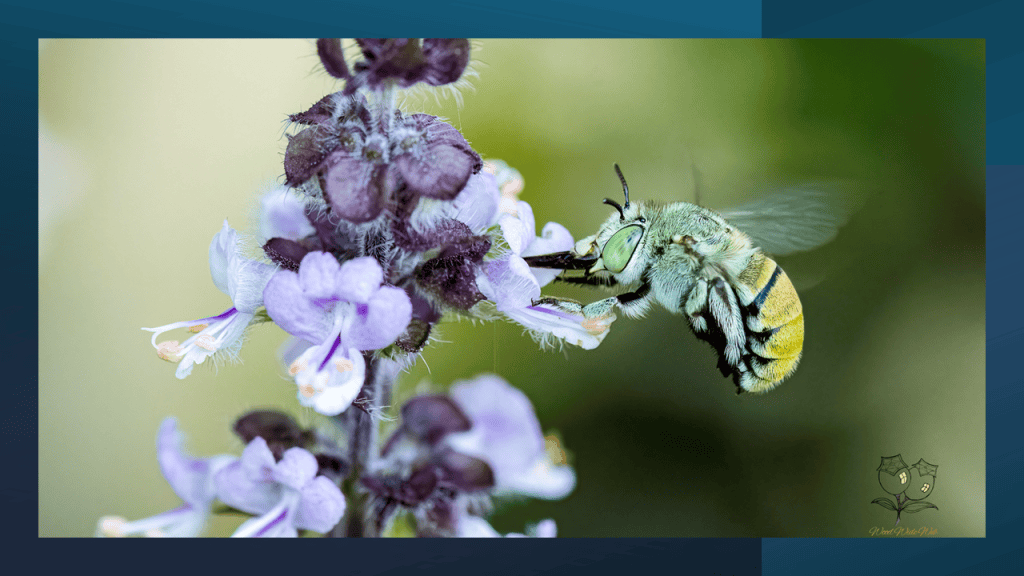
This isn’t my best photo in terms of definition but I do love the detail. I had never knowingly seen one of this species until this photo was taken. I was instantly enchanted.
I absolutely love the turquoise markings and the big green eye framed by creamy white hairs. Add on that golden abdomen with contrasting black and it’s just a gorgeous specimen. I also love this bee looks cheerful, at least to me. This is in the same genus as the famous Blue Banded Bee so it is an Amegilla. It is Amegilla aeruginosa. It’s not often referred to using a common name but I have seen it called the Green and Golden Bee. They are slightly smaller than the Banded Amegilla that you frequently see in SEQ, but they have the same flower preferences and can often be seen foraging with them.
This photo is really helped by bright diffused light. There are no distracting shadows but you can still see lots of detail and the depth of field is keeping the flowers and the bee in focus while the background is blurred to emphasise the subject. And that leads nicely to the next tip.
Make sure you follow so that you don’t miss the next tip! Meanwhile, perhaps check out this photography…


